Crop Point Clouds (Gaussian Splats)
Written By Aholo3d
Last updated 4 months ago
In the Aholo Editor, you can use the Crop tool to remove unwanted areas or noise, keeping only the essential parts of your model for a cleaner, more focused result.
1. Enter Crop Mode
Open your project
Click on the model in the scene to bring up the floating toolbar
Click “Crop” to enter crop mode
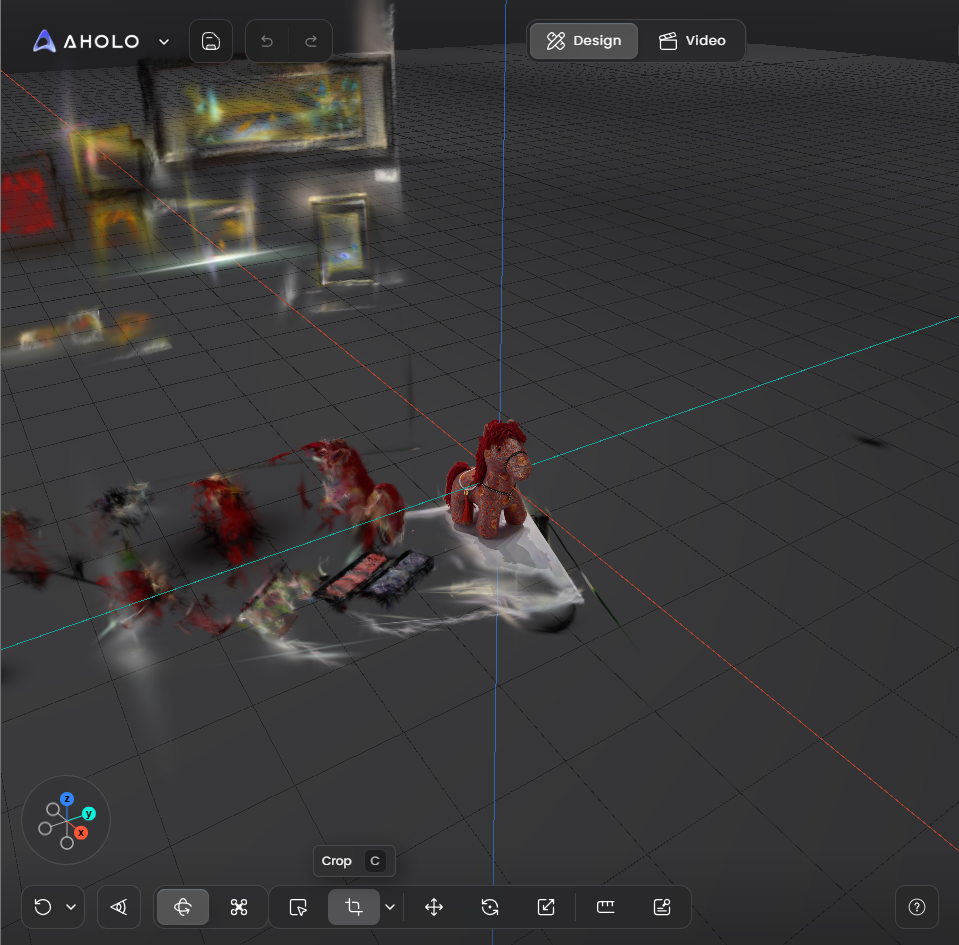
2. Choose a Crop Shape
Before adjusting, select the shape of the cropping area:
1. Cube
Ideal for spatial scenes
Easier to align with architectural structures
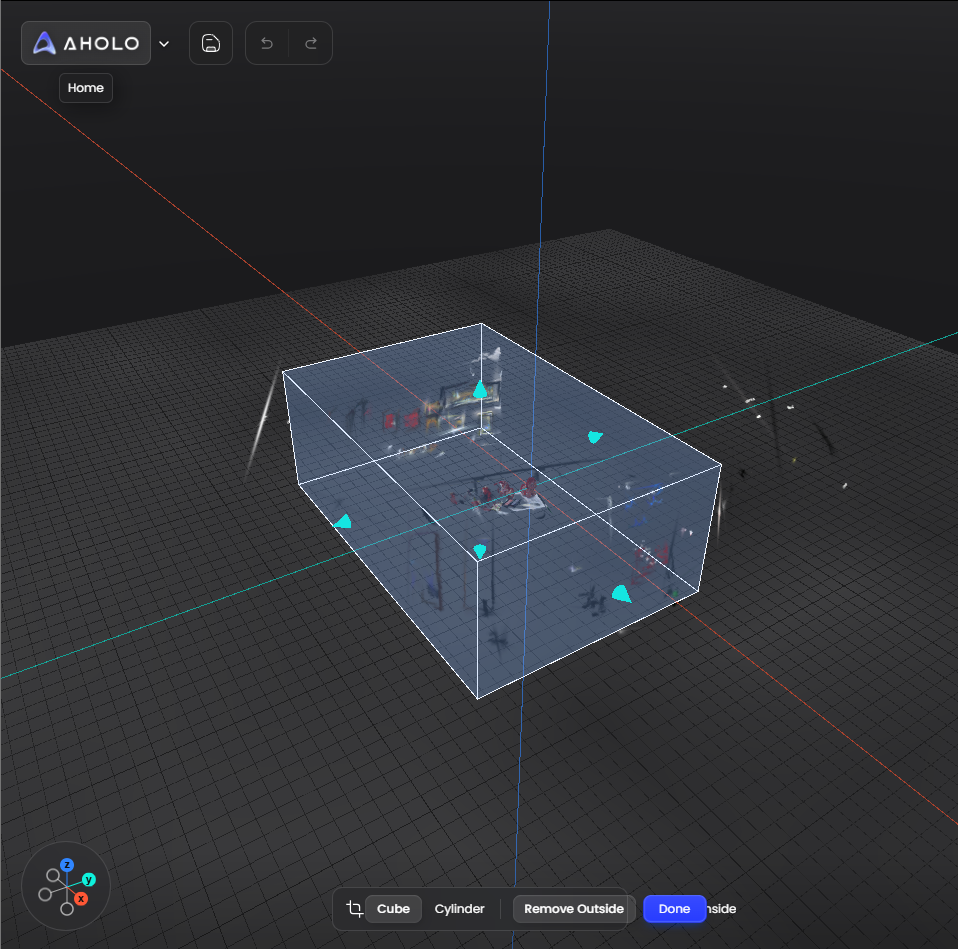
2. Cylinder
Better suited for single objects
Wraps around the subject more naturally
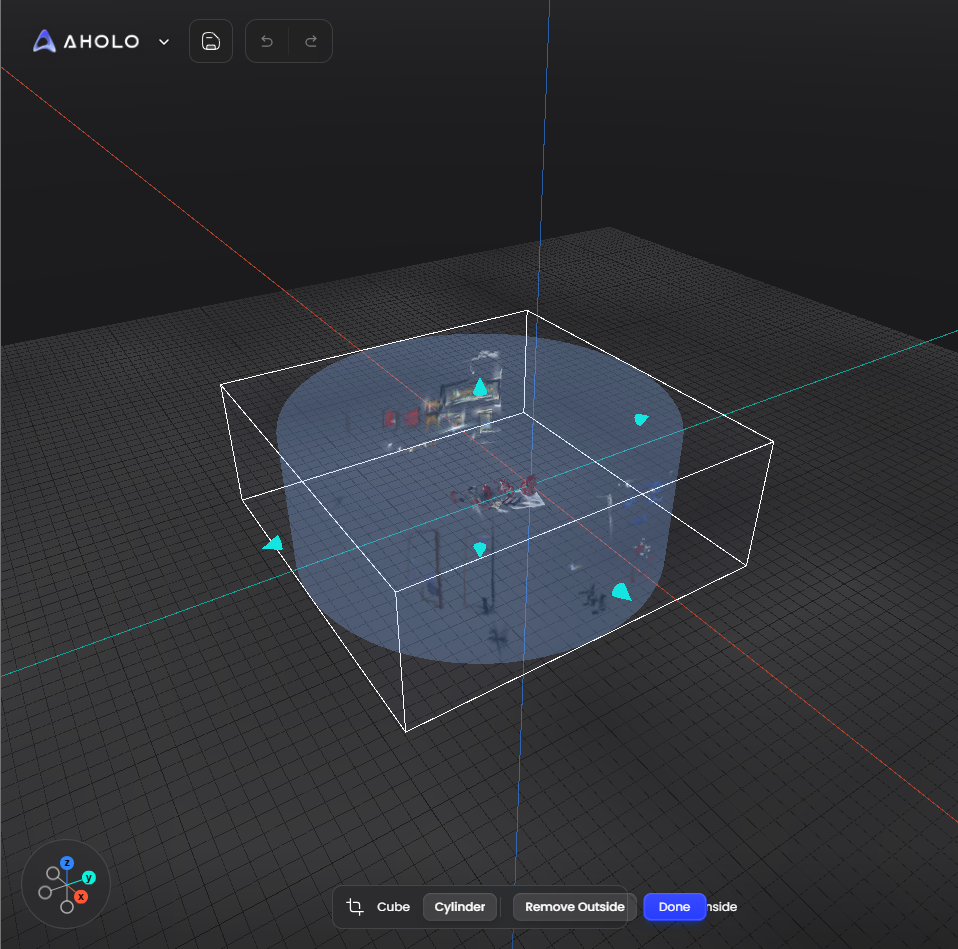
3. Adjust the Crop Area
The crop area can be adjusted by moving, resizing, or rotating the crop box.
1. Move the Crop Area
Drag an axis to move the crop box along that direction.
The size of the crop box will stay the same; only its position will change.
You can also click an axis and enter an exact distance for more precise position adjustment.
2. Resize the Crop Area
Drag the handles on the crop box to adjust the length in a specific direction.
You can also click a handle and enter a scale value. For example, entering 2 will double the length in that direction.
During adjustment, the system may display updated values, such as percentage and actual size, to help you control the crop range more accurately.
3. Rotate the Crop Area
Drag the rotation control to adjust the angle of the crop box.
This is useful when the model or target area is not aligned with the default axes.
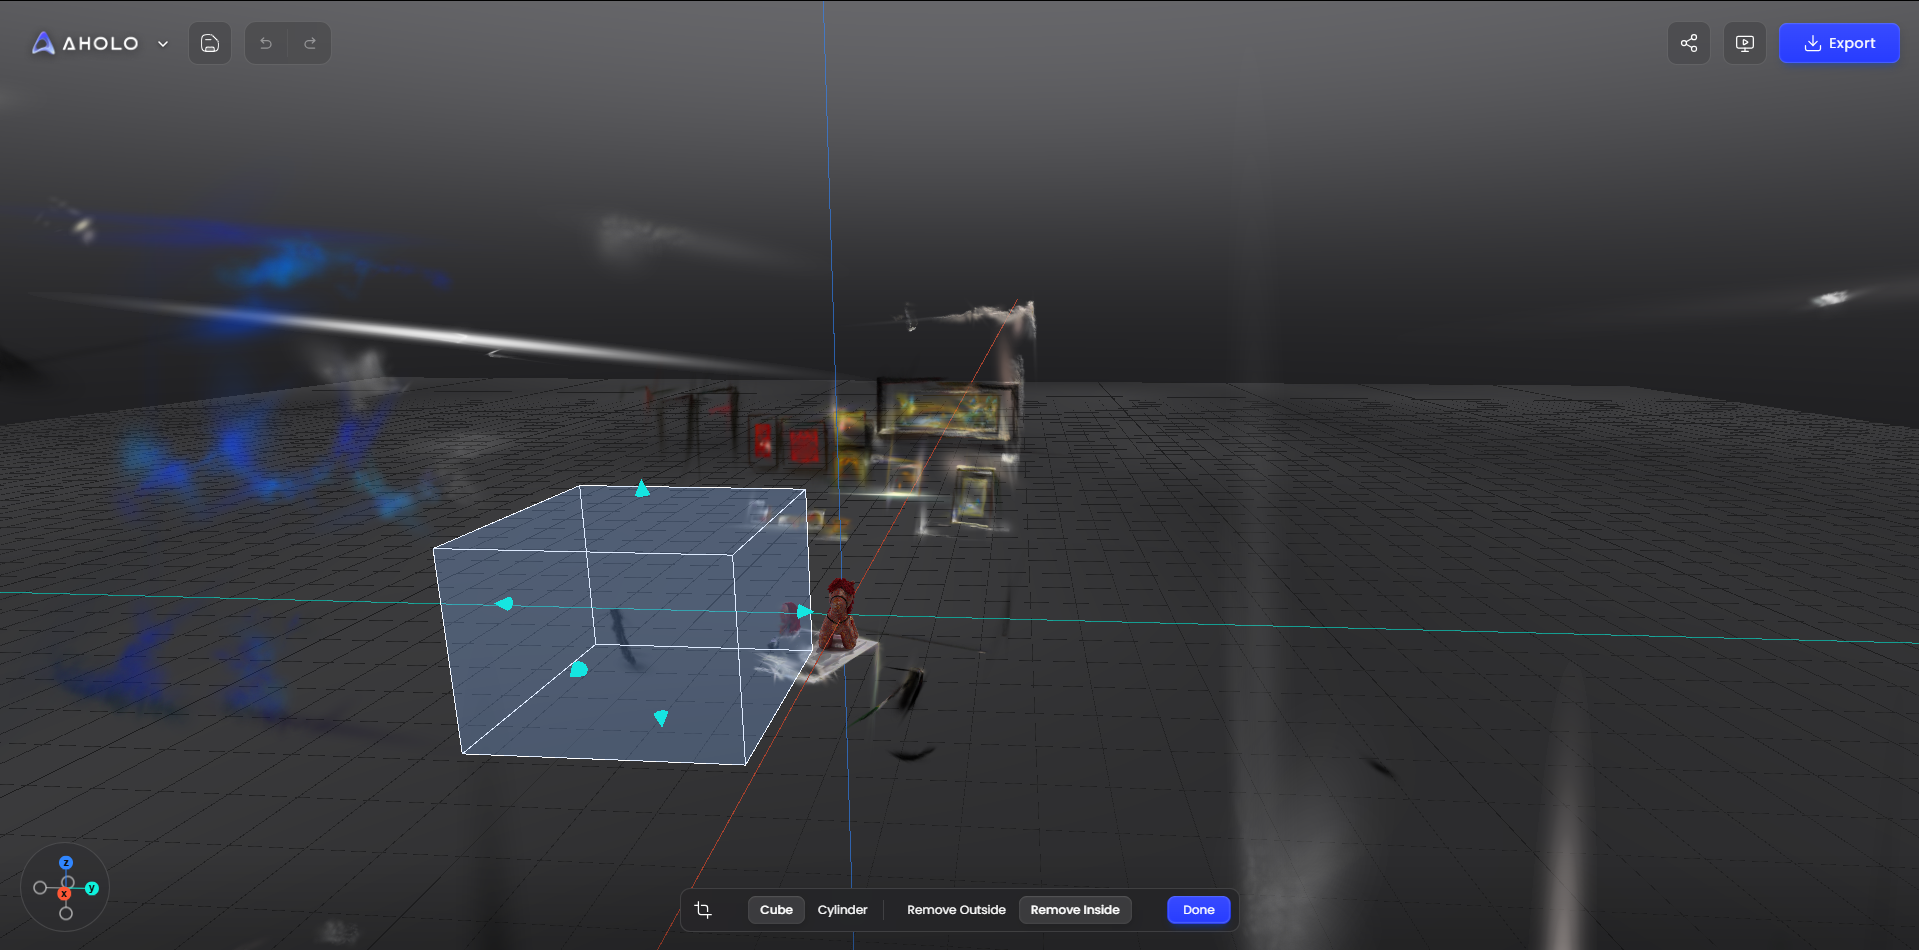
4. Choose a Cropping Mode
After adjusting the position, size, and angle of the crop area, choose how the crop should be applied.
1. Crop Outside
Keeps the area inside the crop box
Removes everything outside
Best for:
Removing background
Cleaning edge noise
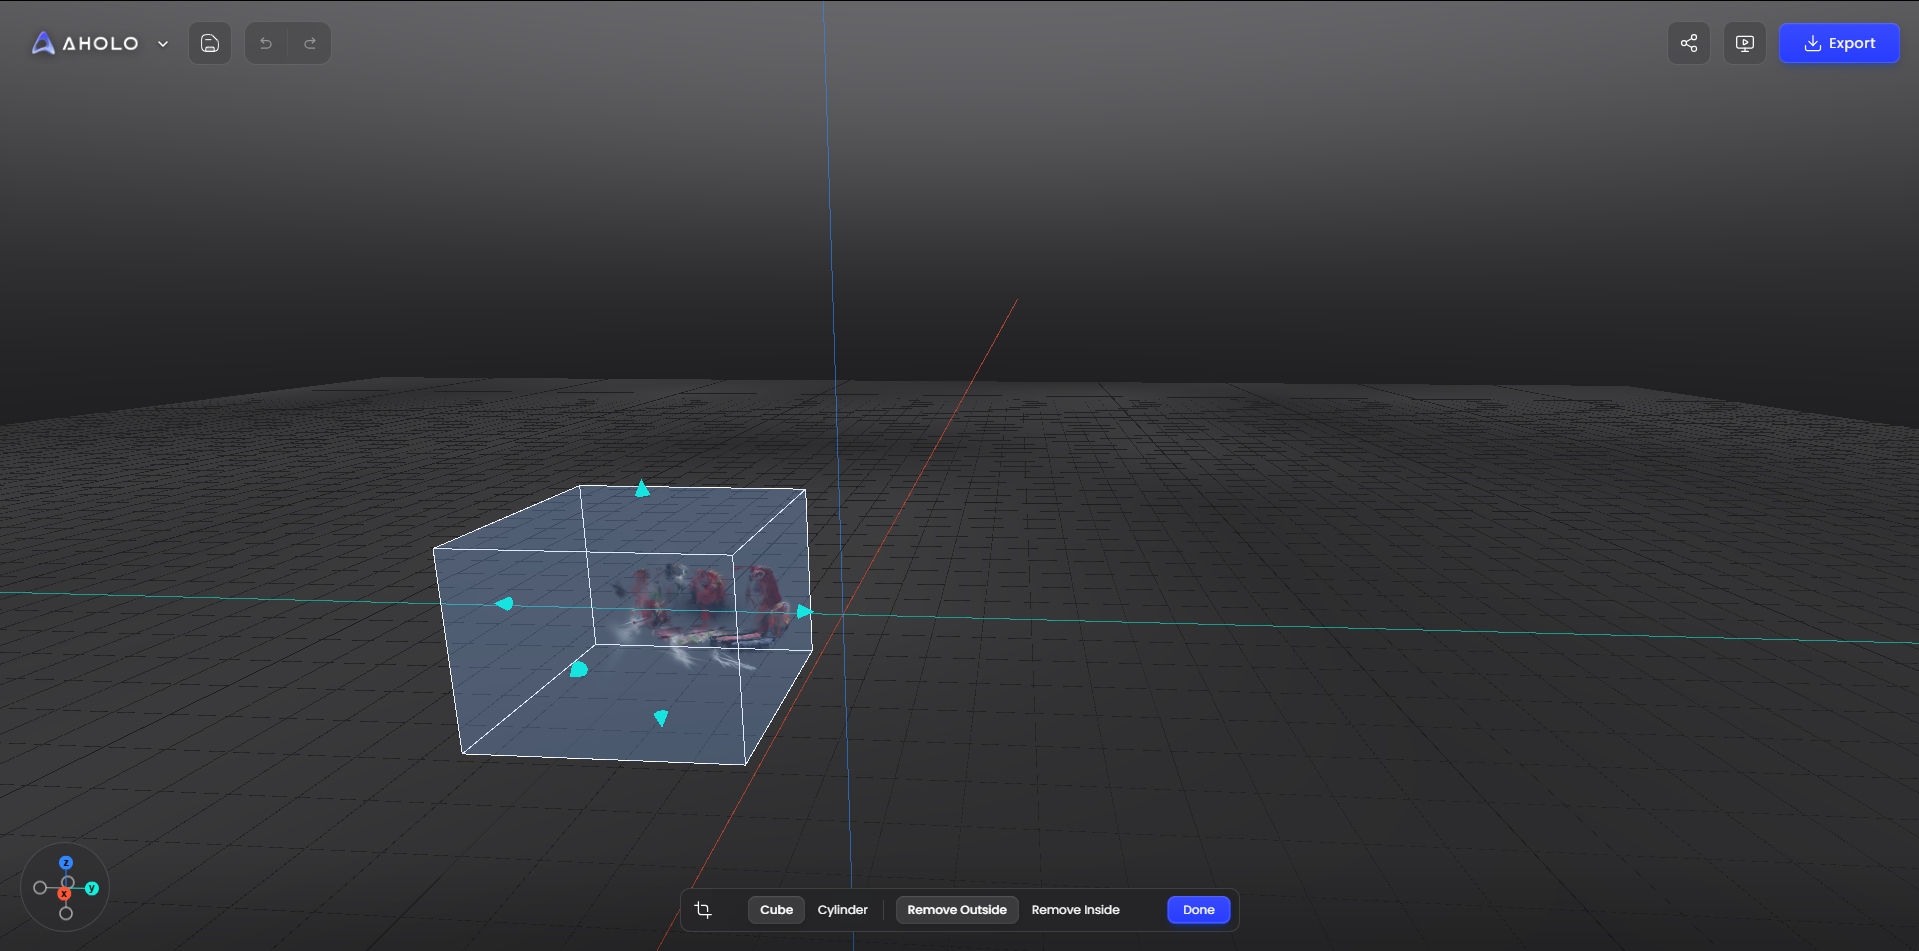
2. Crop Inside
Keeps the area outside the crop box
Removes everything inside
Best for:
Removing local interference
Eliminating unwanted elements in the center
5. Save & Undo
After finishing your adjustments:
Click “×” to exit crop editing
Click “✔” to apply the crop
Tips:
Before saving, you can click “Undo” to revert the previous step
Once saved, the crop cannot be undone—make sure everything looks correct before applying
6. Best Practices
For complex models, use smaller, multiple crops for better precision.
Leave some margin around the subject to avoid over-cropping.
Check the model from different angles before applying the crop.
Use Cube for structured spaces and Cylinder for single objects when appropriate.
7. What’s Next
After cropping, you can continue with:
Exporting videos or sharing your work
Was this helpful?
Still need help? Ask the team