Export 3DGS Reconstruction Result as a Video
Written By Aholo3d
Last updated About 1 month ago
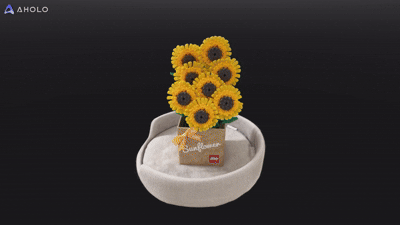
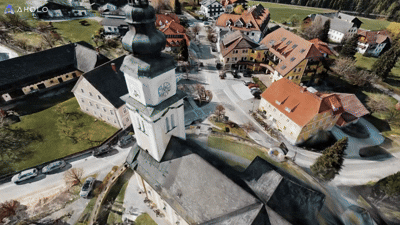
In Aholo, you can quickly generate videos from reconstructed 3DGS objects or scenes for presentation, sharing, or content creation purposes.
By configuring opening effects, camera paths, and keyframes, you can easily produce cinematic-quality 3D videos. The detailed steps are as follows:
1. Create a Video
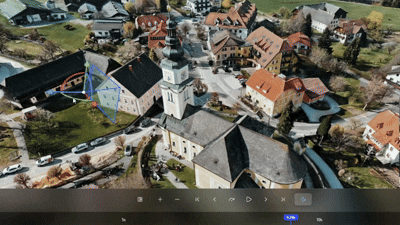
Open the project in Aholo that you want to use for video creation, then click “Video”.

2. Add An Opening Effect
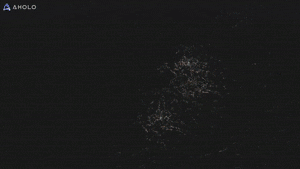
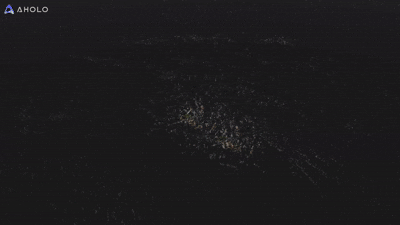
You can add an opening effect to visualize the transition from a point cloud to a fully reconstructed 3D model.
Aholo provides three types of opening effects: Gradient Diffusion, Rainbow Burst, and Magic.


3. Set Camera Path
By configuring the camera path, you can control how the camera moves around the model to present different perspectives.
Aholo provides three camera path options: Orbit Path, Panorama Path, and Spiral Path.

Each path can be further customized using the following parameters:
Orbit Path
Center Point: Adjust the center of the camera path
Radius: Control the radius of the path
Height: Adjust the camera height
Start Angle: Set the starting camera angle
Rotation Angle: Define the total rotation angle

Panorama Path
Position: Adjust the camera position
Start Yaw: Set the initial viewing direction
Rotation Angle: Define the rotation angle
Pitch Angle: Adjust the vertical tilt of the camera

Spiral Path
Center Point: Adjust the center of the path
Start Height: Set the starting height
End Height: Set the ending height
Start Radius: Define the initial radius
End Radius: Define the final radius
Start Angle: Set the starting angle
Revolutions: Control the number of spiral turns

4. Add Keyframes
You can also add keyframes to refine the timeline and introduce additional viewpoints.

After adding keyframes, you can adjust the timeline duration by dragging the keyframes.
You can also directly enter a duration at the end of the timeline to modify the total length of the timeline.

Cameras added through keyframes can be individually adjusted in terms of position and orientation.
5. Video Loop
To create a seamless looping video, enable the loop option.
Aholo will automatically generate additional frames at the end of the video to smoothly connect the final frame back to the first.

6. Preview the Video
Click “Preview” to review the video before exporting.
During preview, you can choose from three aspect ratios: 16:9, 1:1, and 9:16.

7. Tips
For optimal results, consider the following recommendations:
Use the Orbit path to showcase the overall structure of the model
Add keyframes for close-up details and multiple perspectives
Keep the video duration between 5–15 seconds for social media suitability
Experiment with different aspect ratios (e.g. 9:16 for short-form platforms)
Avoid overly fast camera movements to ensure smooth playback
8. Export and Share
Once your video is complete, click “Export” to render it as an MP4 file for presentation or sharing.

You can customize the resolution and frame rate during export.

Export Successful! Now you can:
Share the video on social media platforms
Use it for project presentations or portfolios
Send it to clients or team members