Outdoor Scene Capture Guide
Written By Aholo3d
Last updated About 1 month ago
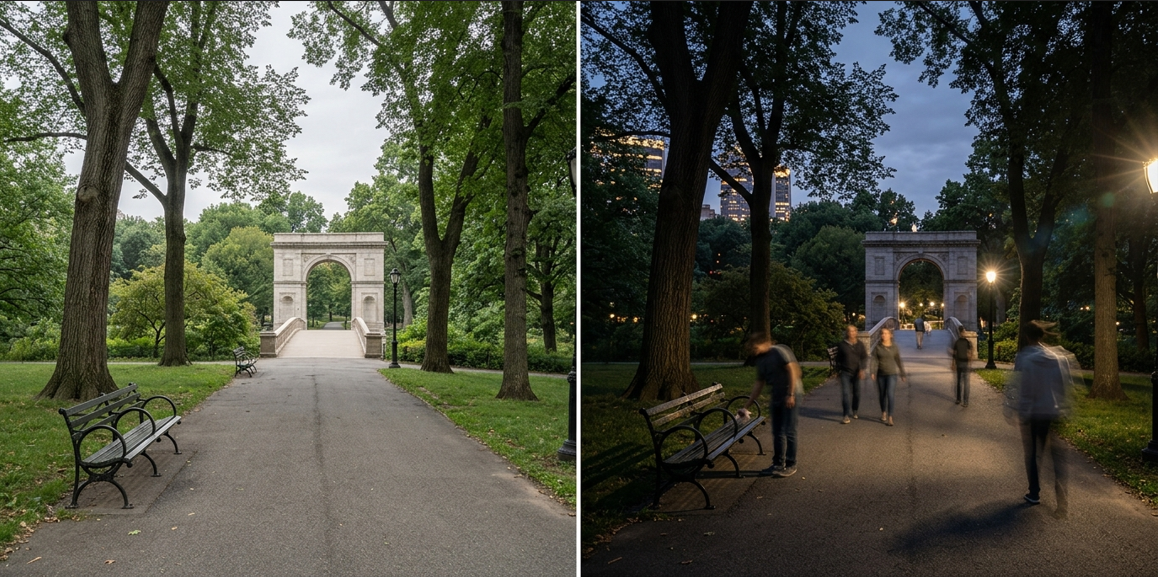
Capture outdoor scenes with your phone or other devices to generate a complete, editable 3D environment.
Since outdoor conditions are more complex (lighting, weather, moving elements), follow the steps and tips below for better results.
Before You Start
1. Device & Environment Requirements
Before capturing, make sure you have:
A stable smartphone (the newer ones are recommended for better results)
Bright and consistent lighting
A relatively controlled environment (minimize interference where possible)
2. Optional Equipment (Advanced)
In addition to a smartphone, you can use the following devices for wider coverage or higher-quality data:
360 Camera
Best for quickly capturing large environments:
Captures a full 360° view in a single shot
Ideal for open spaces (e.g., plazas, streets)
Capture from multiple positions and ensure overlap between shots
Drone (Aerial Capture)
Best for large or hard-to-reach areas:
Provides top-down (aerial) perspectives
Ideal for building exteriors, landmarks, and large-scale environments
Fly slowly and maintain a stable path
Avoid rapid movement or sharp turns
General Tips
Keep footage as stable as possible
Ensure sufficient overlap between different capture positions
Avoid strong lighting or rapidly changing light conditions
3. Environment Checklist
Before capturing, try to:
Avoid crowded areas
Minimize moving objects (pedestrians, vehicles, etc.)
Avoid strong wind (movement of trees or objects can affect results)
Plan your capture path in advance
4. Lighting Requirements
Choose evenly lit times of day (early morning or late afternoon preferred)
Avoid harsh midday sunlight (overexposure and hard shadows)
Avoid rapidly changing lighting (e.g., fast-moving clouds)
Start Scanning
1. Choose a Starting Point
Pick a clear reference point, such as:
A building corner
A sculpture
An entrance or intersection
2. Move Slowly
Walk or move at a slow, steady pace
Keep your speed consistent
Avoid sudden turns
3. Control Distance
Keep a distance of about 2–5 meters from the subject (adjust based on scene size)
Avoid getting too close or too far
4. Maintain Stability
Move smoothly at a constant speed
Avoid shaking or sudden movements
5. Ensure Full Coverage
Move around the subject or area in a loop
Try to form a closed-loop path
Maintain sufficient overlap between paths
Key Areas to Capture
Make sure to include:
Building facades
Ground and environmental structures
Edges and corners
Key objects (sculptures, installations, etc.)
Multi-Angle Coverage
For complex or important areas:
Capture from multiple angles
Add one or two extra loops if needed
Capture Tips
Keep the Device Stable
Hold the device with both hands
Minimize shaking
Maintain Smooth Movement
Move at a steady pace
Avoid sudden turns or frequent stops
Capture Details from Multiple Angles
Focus on:
Building edges and corners
Structural details
Layered or complex areas
Quality Requirements
Image Coverage & Overlap
Capture enough usable views (typically at least 20 key perspectives)
Maintain ≥70% overlap between adjacent frames
When using video:
The system will automatically extract keyframes
Avoid Low-Texture or Invalid Areas
Avoid large uniform surfaces (e.g., plain walls, sky)
Include structural or textured elements whenever possible
Common Issues & Optimization
Common Issues
Lighting too strong → Overexposure or harsh shadows
Rapid lighting changes → Unstable reconstruction
Too many moving objects → Artifacts in the model
Moving too fast → Motion blur
Shaky footage
Incomplete coverage
Best Practices
Soft, even lighting (early morning or late afternoon is ideal)
Fewer people and moving elements
Low wind conditions
Stable handling
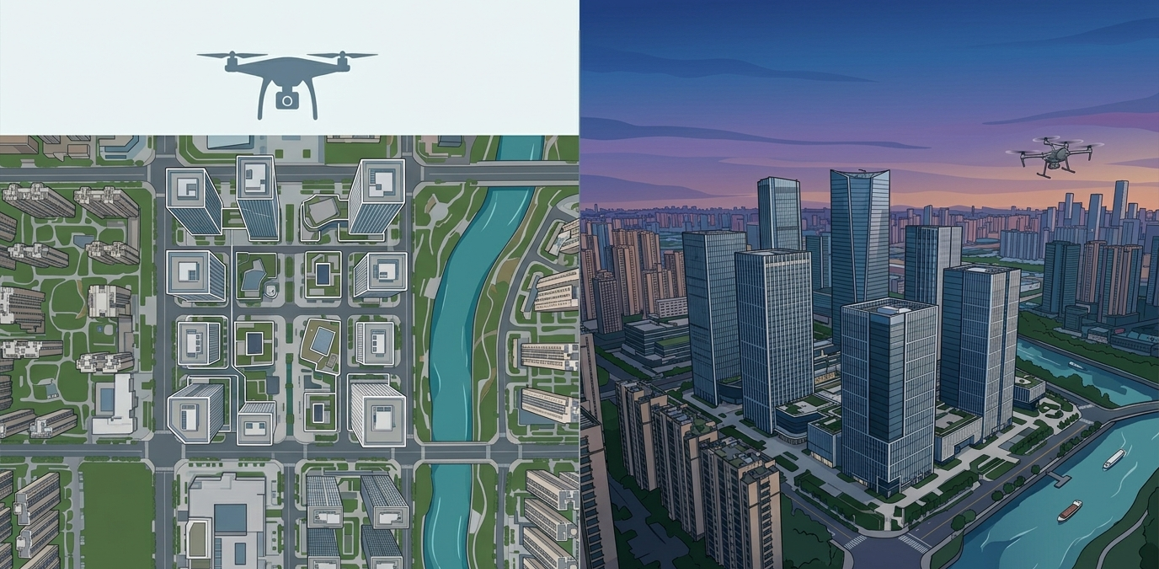
Advanced Drone Capture Guide (For Large Scenes)
For large environments, building exteriors, or complex terrain, drones can provide better coverage and higher-quality data.
1. Suitable Scenarios
Drone capture works best for:
Building exteriors (structures, landmarks)
Parks, scenic areas, and large spaces
Areas difficult to cover on foot
Scenes requiring aerial or multi-height perspectives
2. Capture Principles
Slow & Stable Flight
Avoid fast movement
Reduce motion blur
Maintain a smooth flight path
Multi-Angle Coverage
Combine two main angles:
Top-down (vertical): for overall structure
Oblique (~45°): for facades and details
3. Common Flight Paths
① Orbit Shooting
Fly around a target (e.g., a building) at least once
Keep the camera facing the center
Best for:
Single buildings
Statue or landmarks
② Grid Shooting (Large Areas)
Fly back and forth in parallel lines
Cover the entire area
Best for:
Terrain
Large open spaces
③ Multi-Height Reshooting
Repeat capture at different altitudes
Improve completeness of the model

4. Lighting & Weather Tips
Preferred:
Overcast days
Early morning / late afternoon
Avoid:
Harsh midday sunlight
Strong winds
Rapid lighting changes
After Capture
Once you’ve finished:
Upload your footage to the Aholo app or website to generate a 3D scene
Wait for processing to complete
Use the editor to crop, annotate, and measure
Export a video or share via link