Developer API and Tools
Written By Aholo3d
Last updated 2 days ago
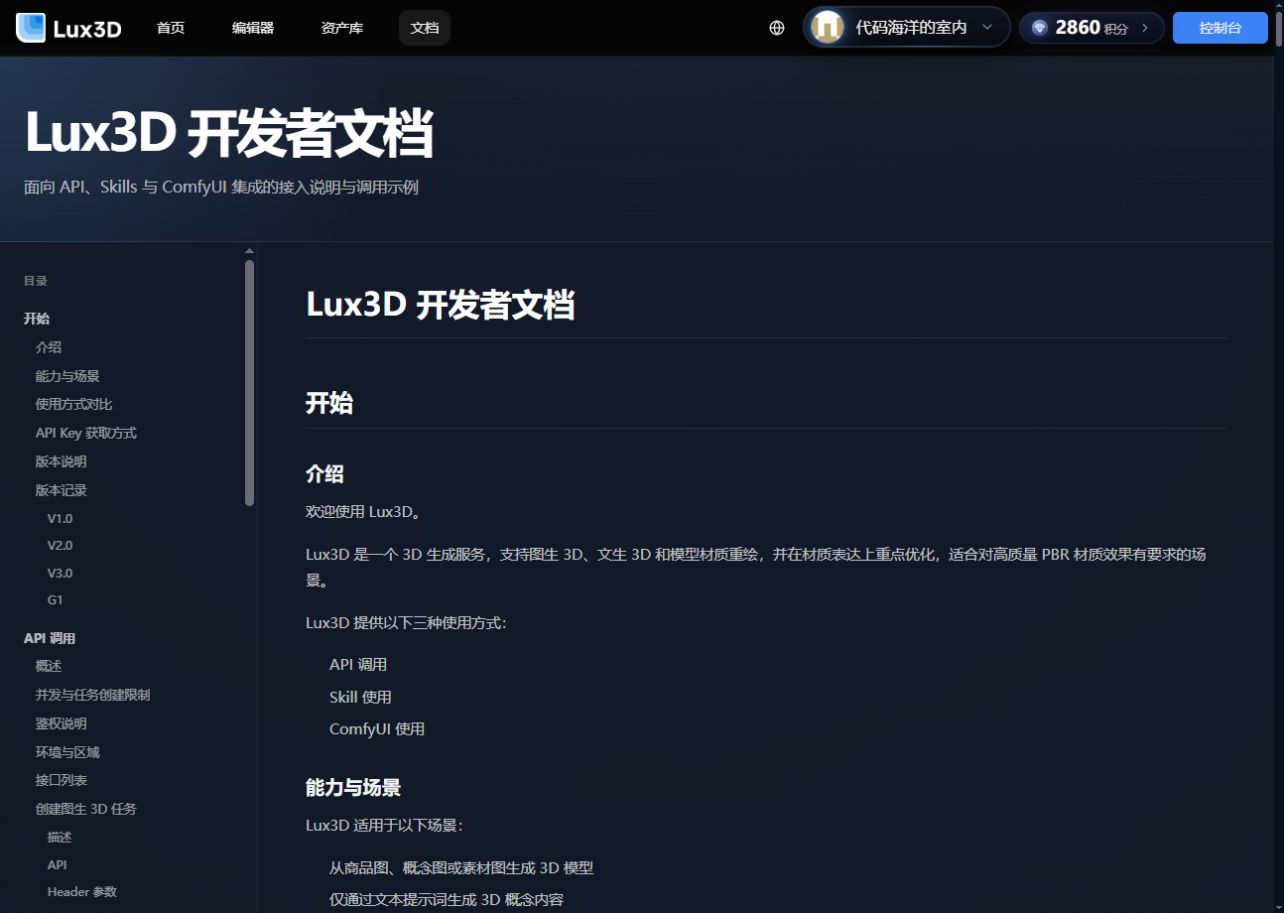
Figure 14: Lux3D developer documentation page
1. Quick Start
Create and securely store your API Key.
Create generation tasks through the asynchronous API.
Poll the task status; download the 3D output once successful.
The creation endpoint currently shown on the website's developer page is POST https://api.lux3d.com/v1/generations, using Authorization: Bearer YOUR_API_KEY. The request example includes image_url, output_format, and material; the service returns 202 Accepted with a task_id. Fields, model values, and the production domain are subject to the current contents of the "Full Documentation / API Reference".
2. Output Capabilities
The developer page currently indicates asynchronous tasks, full PBR, and multi-format output; example formats include GLB, USDZ, OBJ, and PBR textures. Which formats the API actually returns depends on the request, model capabilities, and server-side configuration.
3. SDK and Code Examples
The developer page provides cURL, Python, and JavaScript examples with copy buttons. Do not treat placeholder addresses, task IDs, or YOUR_API_KEY shown in the page demos as real production data.
4. ComfyUI
The current website tools entry links to https://github.com/manycore-research/ComfyUI-Lux3D/. For installing and upgrading custom nodes, follow the latest README and Releases of that repository. After configuring your API Key, select the input image, model, and available Lux3D model in the node; whether 3.0/G1 is displayed depends on the plugin version and server-side configuration. If the node still only shows older versions after a model update, upgrade the plugin first, refresh the node list, and reselect the model.
Was this helpful?
Still need help? Ask the team